Download Stenox
1
Download the app
Visit stenox.app/download and download the latest version.
2
Open the DMG file
Locate the downloaded DMG file in your Downloads folder and double-click to open it.
3
Drag to Applications
Drag the Stenox app icon to your Applications folder.
4
Launch Stenox
Open Stenox from your Applications folder or Launchpad.
Required Permissions
Stenox requires two system permissions to function properly.Microphone Access
Stenox needs microphone access to capture your voice. You’ll be prompted automatically on first launch:- Click OK when the microphone permission dialog appears
- If you accidentally deny access, go to System Settings → Privacy & Security → Microphone
- Enable the toggle next to Stenox
Accessibility Access
Stenox uses Accessibility API to insert text at your cursor position.1
Open System Settings
The Stenox onboarding wizard will guide you to System Settings.
2
Navigate to Accessibility
Go to Privacy & Security → Accessibility in System Settings.
3
Click the lock to make changes
Click the lock icon at the bottom left and authenticate with Touch ID or password.
4
Enable Stenox
Find Stenox in the list and toggle it on. If Stenox isn’t listed, click the + button to add it.
5
Return to Stenox
Go back to Stenox and continue through the onboarding wizard.
Initial Configuration
After granting permissions, you’ll complete the onboarding wizard:- Welcome Screen - Overview of Stenox features
- Permission Setup - Grant microphone and accessibility access
- Completion - Learn about the default hotkey (Option+Space)
What’s Next?
Quick Start
Configure your first provider and learn the basics.
Your First Dictation
Step-by-step guide to your first voice dictation.
Troubleshooting
- Make sure Stenox is running (check Activity Monitor)
- Restart Stenox

Permission dialogs don't appear
Permission dialogs don't appear
If the permission prompts don’t appear automatically: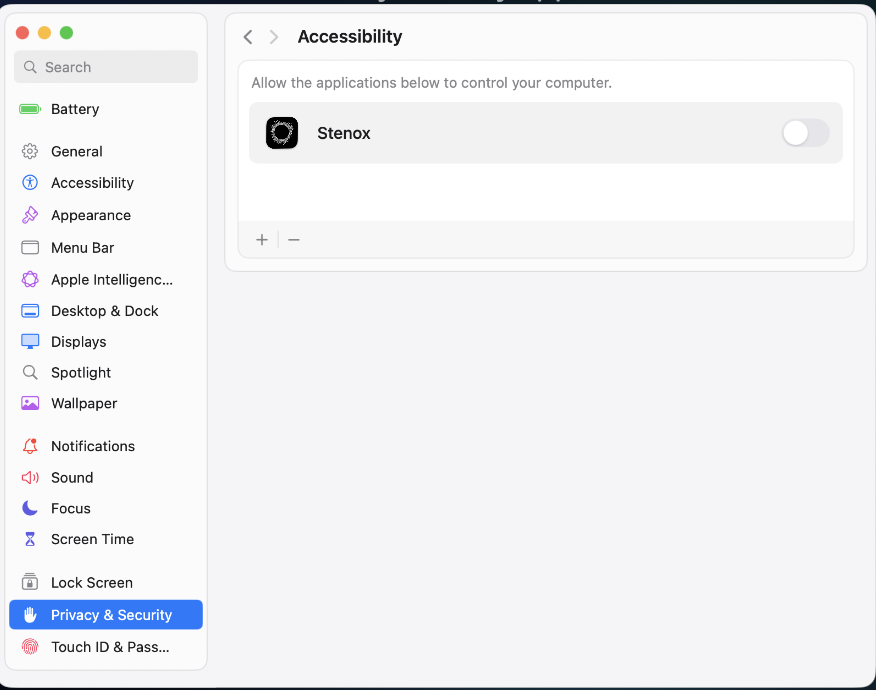
- Open System Settings → Privacy & Security → Accessibility
- Click the lock icon to make changes
- If Stenox is in the list, remove it by selecting it and clicking the − button
- Click the + button and add Stenox from your Applications folder
- Ensure the toggle next to Stenox is enabled
App crashes or shows errors
App crashes or shows errors
- Ensure you’re running macOS 13.0 or later
- Try switching to a different transcription or AI provider in Settings
- If the issue persists, send us feedback directly from the app (see below)
Need more help? Visit our Troubleshooting guide or email support@stenox.app